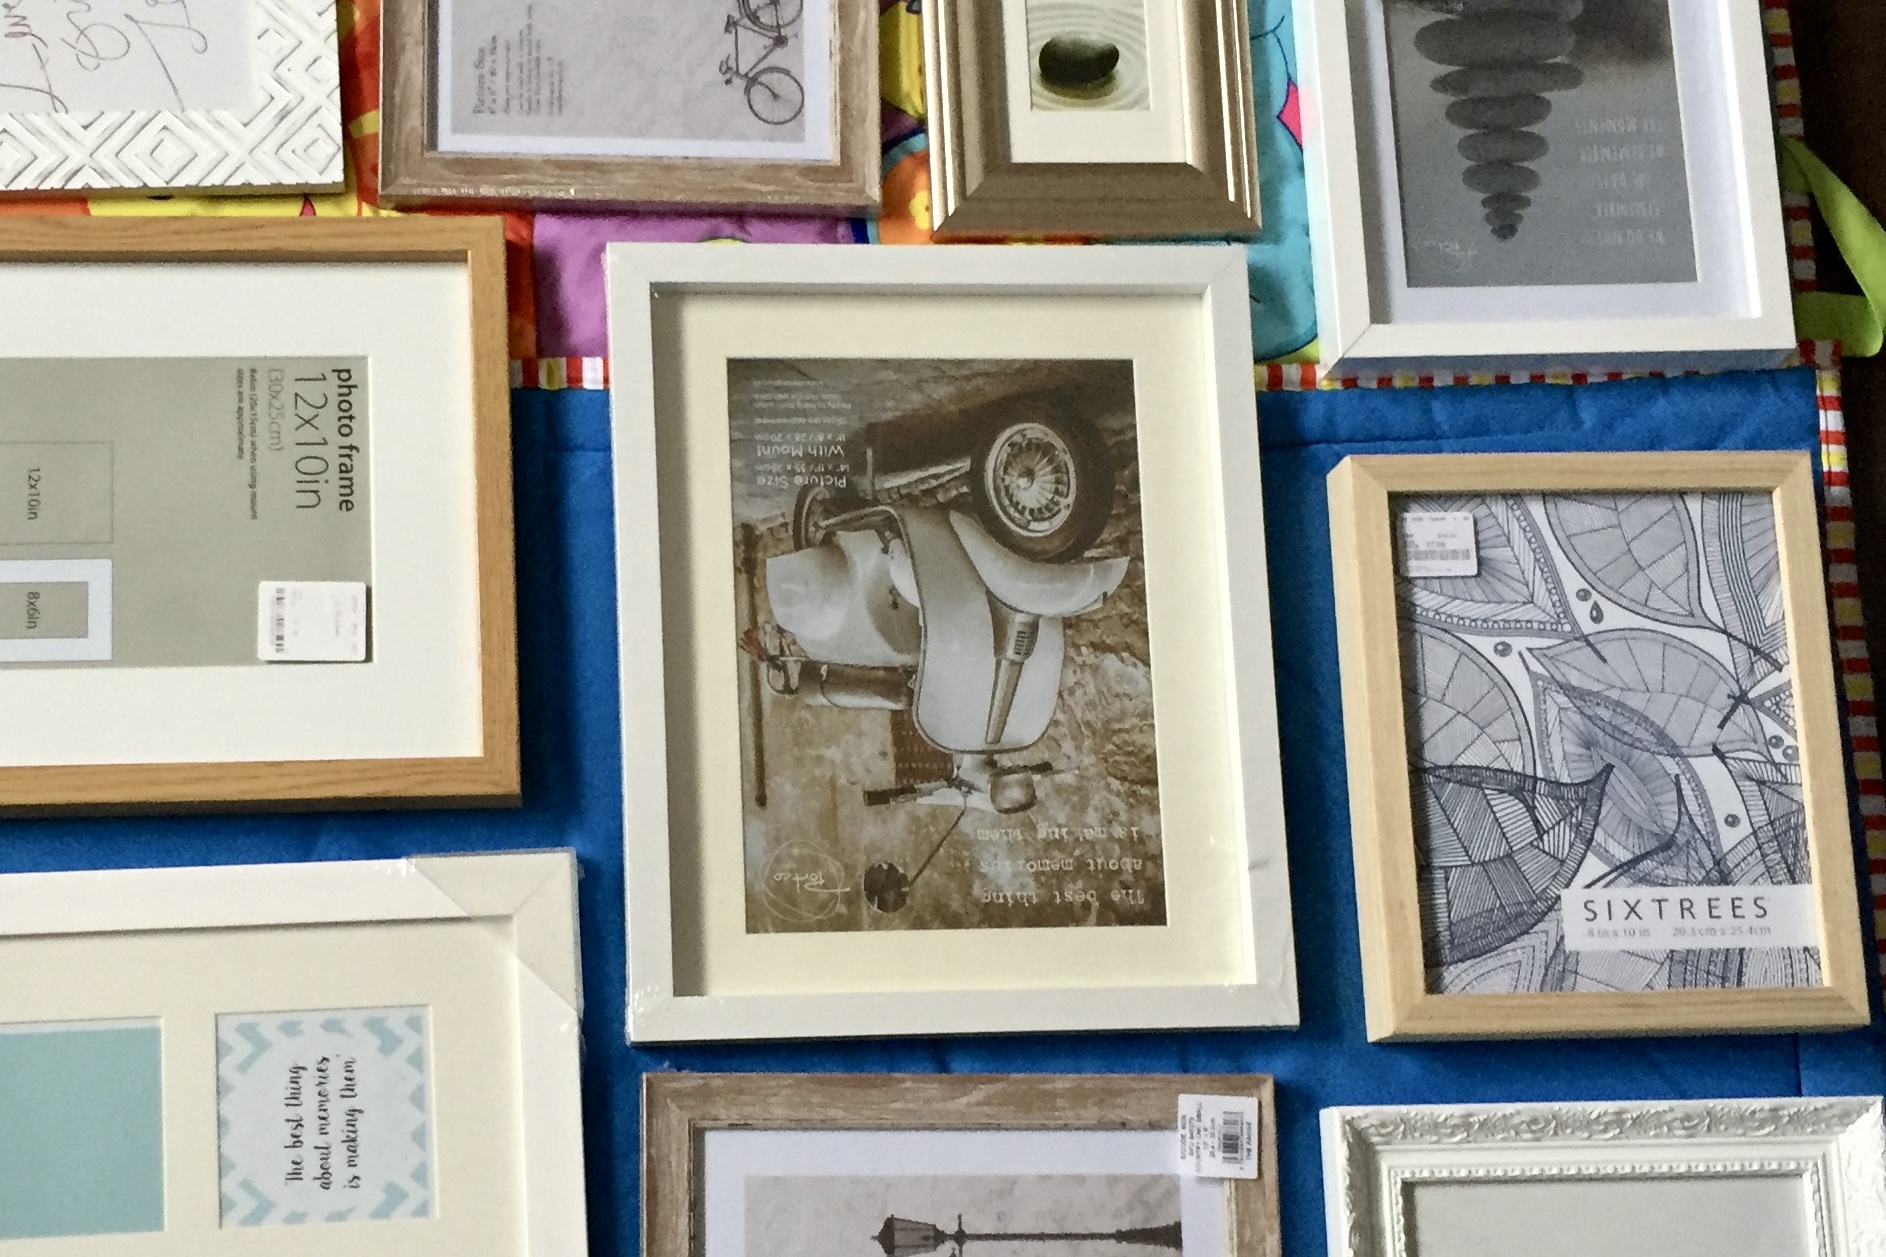
Most of the walls in our house are an unexciting white. For 6 years I have been looking at some of them, trying to decide how to make them more exciting, but I couldn't make up my mind. Wallpaper and bold colours are too much of a commitment when I can't find anything I love. The easier option is to fill my walls with art, but in the past I was put off because I thought it would be too hard. Every time I've had to drill something into our walls I have made a bit of a mess, but luckily I have discovered there are lots of easy ways to fill your walls with art without using a drill. If you rent your house there are even some great options for putting up art which won't permanently mark the walls.

|
| There are lots of really easy ways to get art on your walls at home |
Easy Ways To Put Up Art At Home
Create A Collage With Washi Tape
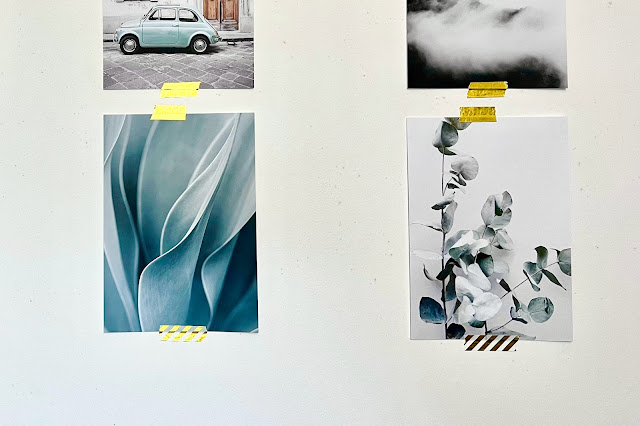
As a child I covered my walls in posters using blue tac and it worked well enough, but a more fun approach is using washi tape. You can buy this paper tape in pretty much any colour and pattern. It’s less sticky than sellotape so you can put it on most surfaces and remove it again later without leaving a mark. Washi tape makes it really easy to fill your walls with your children’s art work, photos, postcards and prints and switch them out whenever you fancy. Check out some of the great Washi tape available on Etsy (affiliate link).

|
| Washi tape allows you to put up prints really quickly without any damage to the walls |
3M Command Strips
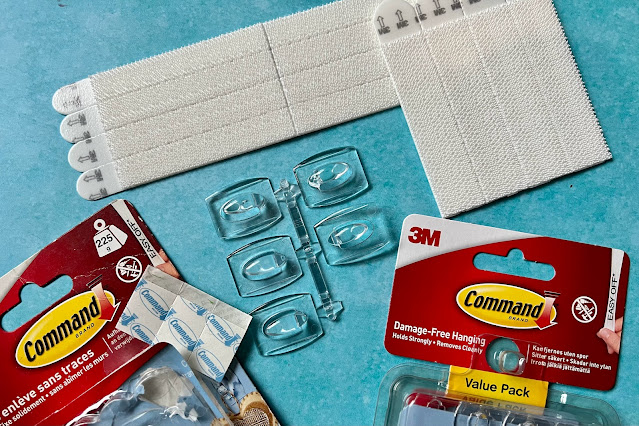
I absolutely love the 3M Command range which has lots of hooks etc you can use around the home for different purposes, but they all just stick to the wall using adhesive and can be removed easily in the future. I use their small hooks to put up my Christmas decorations, I have their picture hanging strips holding frames up, a canvas picture hanger and some random hooks around my house too. They are really easy to use and decorations stay up much better than with blue tack or tape.

|
| The 3M Command product range is huge and works really well for temporarily putting up art |
Do 3M Command strips and hooks really work?
There are 3 things to be aware of before using the 3M Command Strips or hooks:
Firstly check the maximum weight of the hook, different designs can support varying weights so you have the canvas picture hanger supporting up to 1.3kg and some of the large picture hanging strips supporting up to 7kg with various different options in between. Choosing the right option for your frame or canvas is important to ensure they stay up as long as possible.
Secondly how well they hold will depend on the surface: it needs to be dry, clean and smooth. Wallpaper or fabric wont hold them very well and are not recommended. If using the strips to hold frames, check what the material looks like on the back of the frame. When I had a frame come down before it was the soft wood that was the weakness, but a smooth backed frame stayed up absolutely fine.
Finally follow the instructions properly. They recommend using rubbing alcohol before sticking which will remove traces of grease. Follow the guidance about how long to have hooks up before putting weight on them.
The picture hanging strips are a bit like two pieces of velcro and you attach one piece to the wall and the other to the frame. They hold very strongly against downward forces, they are pretty strong when you are pulling straight out, but if you peel them apart at an angle (like a zip) they come apart. I found they didn't work for a small shelf I tried to put up because the pressure was at an angle, but picture frames hold well.
If you follow the instructions and you have suitable wall finishes the Command products work really well and they have a huge range of options, check them out their Amazon store (affiliate link).
Hard Wall Hooks
Having previously always attempted to hang pictures using a drill, raw plugs and screw I avoided putting up any new art for years, but now I have discovered hard wall hooks I am looking at my house in a new light. These plastic hooks have a number of thin nails or pins in them so you just position them where your want them and hammer them in. The pins don’t go very deep so they are easy to hammer in, but because there are multiple ones they distribute the weight and hold a decent weight. They aren't suitable for stud or hollow walls, but work well on solid walls including concrete, hard wood and solid walls. Tip: look for the ones with a little hole in the middle as they make it really easy to mark up where you want them to go. Oh and I don't know why so many call themselves "no trace", if removed you would see small holes, they are just less obvious than a larger hole.

|
| It's easier than you think to hang pictures with these hard wall hooks (pictured hooks from Desenio) |
Picture Rail
If you don't have a picture rail already this does require an initial bit of effort, but it's worth it in the long term. The house I grew up in had picture rails around the outside of every room which made it really easy to hang mirrors, frames and even clothes (when ironing), you can also change things whenever you want with minimal effort.
If you don’t have a picture rail then you can get one put up yourself or, if you aren’t DIY savvy and let’s face it you probably aren’t if you are looking at this post, then you can get a decorator to hang rails for you meaning forever ever after you can hang whichever pictures or mirrors you want when ever you want.

|
| Why not save on Pinterest for later? |
Please note: if you are worried about damaging your walls with adhesive (from washi tape to 3M Command products) try using a small amount on an inconspicuous area and leaving for a few days before removing.

